AUTONEWS
Anti-gravel paint for the underbody: the forgotten protection your car may need
Decades ago, many people, as soon as they bought a car, took it to the shop to apply a coat of anti-gravel paint to the underbody. It was a time (we're talking about the 1960s, 1970s, and 1980s, especially) when the bodywork suffered greatly from inadequate anti-corrosion treatments, and rust hid itself, sometimes causing actual holes that were covered as best as possible with mats. But today, when we find galvanized steel, electrophoretic primers, and factory coatings (those cars with flat bottoms, or nearly so) worthy of the aircraft industry, does it make sense to continue doing this?
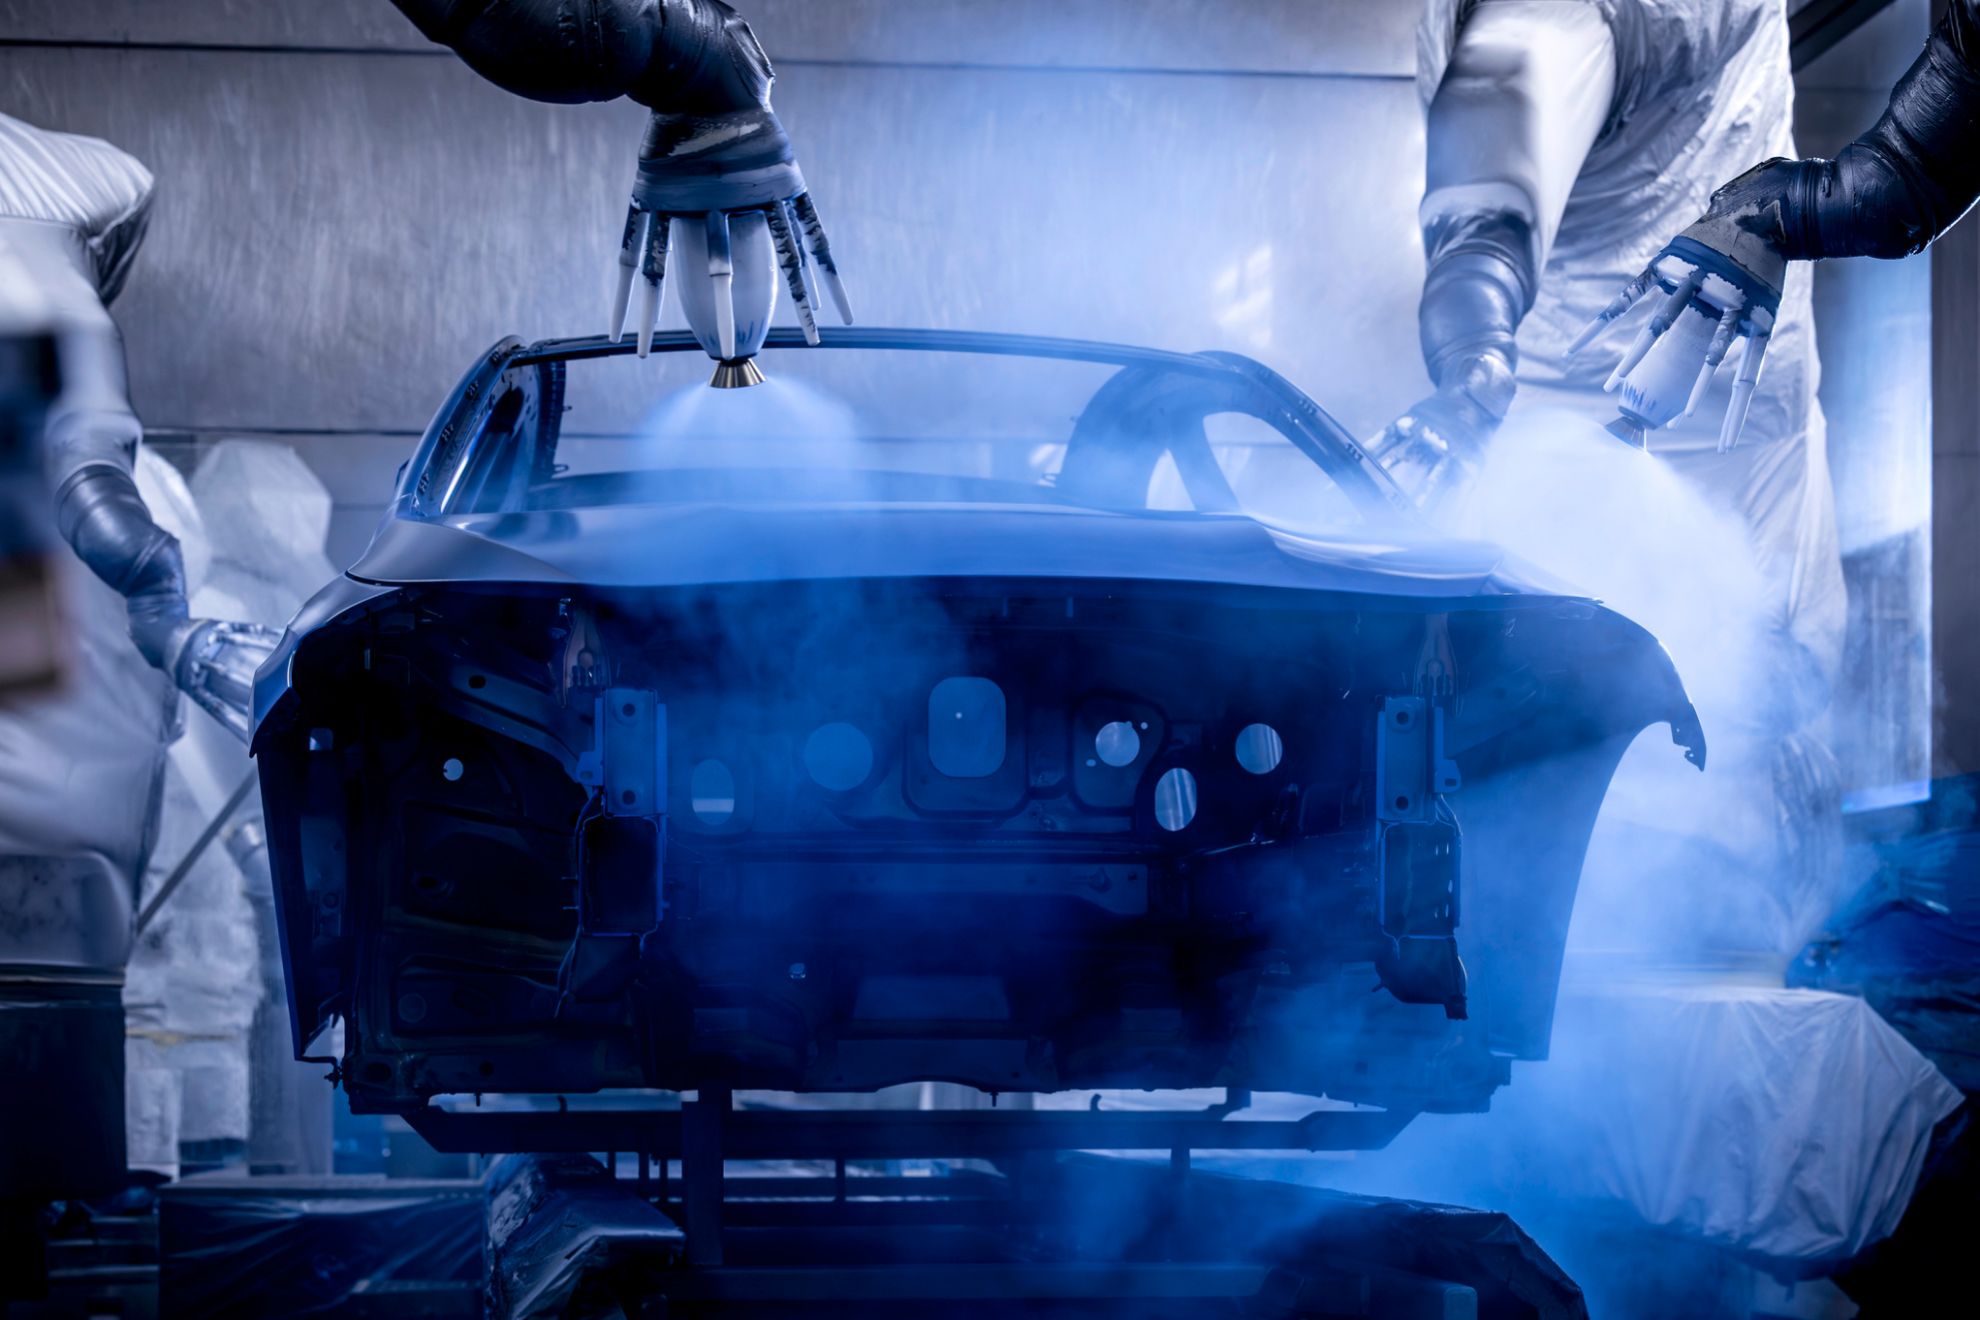
Preventative coating...Today's cars leave the factory with anti-corrosion treatments far superior to those of twenty or thirty years ago. The bodies are completely immersed in cataphoresis baths that cover every nook and cranny, even the internal gaps in the side members and cavities, where previously only moisture accumulated. The underbody is also usually coated with a layer of elastic sealant that serves both to protect against stone impacts and to acoustically insulate the cabin. In sportier (or truly sporty) models, this protection is complemented by plastic fairings that improve aerodynamics and act as a physical shield against gravel and water splashes.
Applying an anti-gravel treatment isn't just a matter of spraying paint with a can. It's necessary to thoroughly clean the underbody, remove traces of mud or grease, and mask areas that don't need painting (suspension arms, exhaust, etc.). All this while raising the car with a jack and applying several coats with a spray gun. Drying time can vary between four and twelve hours, depending on the product and the ambient temperature. Therefore, the car usually stays in the shop for a full day.
Not in official shops...The average price for sandblasting a car's underbody ranges between 120 and 250 euros, depending on the size of the car, the product used, and whether it requires extensive cleaning or, conversely, whether the car is new and pristine. For SUVs, vans, or campers, the cost can rise to 400 euros due to the larger surface area and the need to remove previous protection. Not all shops offer this service, and even fewer official dealerships, who generally advise against it if the car is still under warranty. They have a compelling reason for this: if not done correctly, it can block a drain hole, so by trying to prevent corrosion, they would be causing it in the medium term. Not to mention that paint applied inexperienced can complicate areas that are visually inspected during inspections. Furthermore, on cars with lower fairings (either fully or partially), these panels need to be removed, which doesn't make much sense, as water can't pass through them. Installing them incorrectly after the work is complete can cause noise, gaps, or even affect cooling. In these cases, body shops often refuse to do this or recommend applying only partial protection to the wheel arches and other exposed areas.
Do It Yourself...The DIY option for the more skilled also exists, of course. At auto parts stores or on platforms like Amazon, you'll find sprays or cans of anti-gravel paint from brands like Würth, 3M, or Motip for between 10 and 25 euros each. To cover an average-sized lower body, you'll need at least three or four cans, plus gloves, a mask, a lift or ramps... and a good dose of patience. There are spray versions, which are easier to apply, and cartridge versions for pneumatic guns, which offer better coverage and durability. If done correctly, you'll have added between one and two kilograms to the car's weight, which is negligible in terms of fuel consumption.
If you do it yourself, you'll find that the paint leaves a rough, black or gray layer on the underbody, leaving a visually quite clean finish. But we understand that, whether you do it yourself or hire someone to do it, it's mandatory for classic cars (restored or not), as ungalvanized steel is much more vulnerable. The question is: how do you know if your car needs it?
In reality, the transition from necessity to non-necessity was gradual, and it all depends on the manufacturing period. In the 1980s, most cars still had exposed sheet metal structures in many places and minimal protective treatments. Galvanization was partial or non-existent, and the underbody was usually coated, as corrosion was still a daily enemy.
Galvanized...In the 1990s, manufacturers began introducing partial galvanization, especially on the most exposed parts (underbody, fenders, doors, and hood). German brands like Audi, BMW, Mercedes, and Volkswagen were pioneers, with processes like cataphoresis or e-coating, an electrolytic immersion process that uniformly coats the entire body with an anti-corrosive primer.
Between 2000 and 2010, full-body galvanizing and multilayer coatings became standard, and polyurethane sealants became widespread.
It wasn't until 2010 that such a high level of protection was achieved that, even in areas with extreme climates (snow, salt, humidity), structural corrosion is very rare before 15 or 20 years of use. In fact, manufacturers guarantee the body against rust perforation for periods of between 10 and 15 years.
Therefore, it may be worthwhile to sandblast (or have sandblasted) the underside of your car only if it's 25 years or older. In fact, it's necessary if you maintain it as a classic or intend to keep it for many years. Otherwise, it's best not to complicate things, even if it rains frequently where you live.


Nenhum comentário:
Postar um comentário